This article was created for Gimp 2.10 and Unity 2019.
Table of Contents
In this workflow tutorial, I'll explain how to create a seamless looping sprite animation in Unity. I'll show how to create a sprite sheet of rendered frames from Blender in Gimp and how to animate it in Unity with Shader Graph.
Rendered Frames from Blender
First, render 69 squared frames ( 8 * 8 for the squared sprite sheet and another 5 for crossfading ) with transparent background as PNG-files in any resolution, though I recommend a size of 2x. These images will be the layers that'll be combined to a sprite sheet in Gimp.
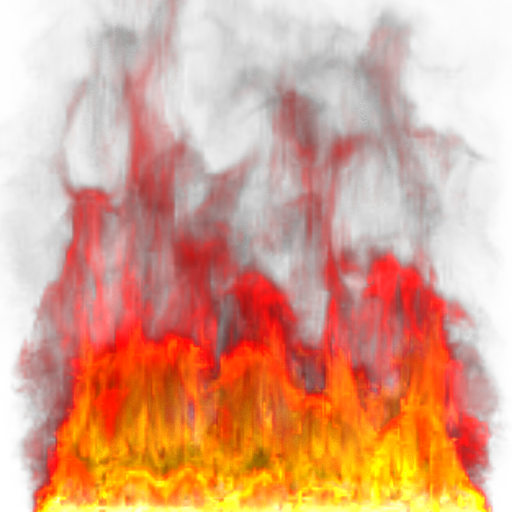
An example of one rendered image frame with a resolution of 512*512 pixels:

Gimp
Secondly, download this Python script: LayersToSquareSpriteSheetLoop.py and save it into your Gimp plugins' folder, typically located here: C:\Users\UserName\AppData\Roaming\GIMP\2.10\plug-ins or add the scripts' location as a plug-in folder.
Then create a new image with transparency and the same size as your rendered images. In this example 512*512 pixels. Delete its background layer.
Add all 69 image frames to your new image with menu bar -> File -> Open as Layers... and multi-select all 69 layers and open them.
Finally, create a layer as a mask to fade out the areas of each layer you don't want to display. In this example, the smoke should not reach the upper border of the image. So the upper area of the layer is transparent to hide the smoke and the rest of the layer is white to show the fire.

Add this mask layer on top of all other layers like this:
![]()
Now you can run the script: main menu -> Filters -> Animation -> LayersToSquareSpriteSheetLoop
Save the generated 4096*4096 image as a PNG-file.
Shader Graph
Download my shader to use it in Unity to display your sprite sheet. Set the emission value to 0 if you don't want any glow or simply replace the PBR master node with an Until master node. You won't need any C# code to set the sprite sheet texture offset. This is automatically done inside the shader.

